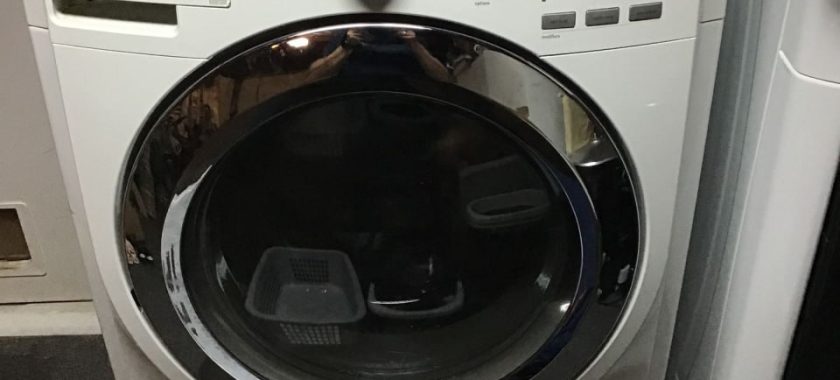
Your washing machine works hard to keep your clothes fresh and clean, but like any hardworking appliance, it needs a bit of maintenance to perform at its best. One often overlooked component is the drainage system filter. If this filter becomes clogged with lint, debris, or small objects, it can cause drainage problems, foul odors, and even damage your washing machine. In this article, we’ll guide you through a simple step-by-step process to remove and clean the drainage system filter.
⠀
Why Cleaning the Drainage Filter Is Important
⠀
Before diving into the process, it’s important to understand why cleaning the drainage filter is crucial. Over time, the filter catches all the loose debris from your laundry. Lint, hair, small objects like coins or buttons, and dirt can build up in the filter, slowing the drainage system. If not cleaned regularly, a clogged filter can lead to slow draining, water leakage, and even damage to the pump system of the machine. Regular cleaning helps prolong the life of your washing machine and keeps it running efficiently.
Step-by-Step Instructions for Removing and Cleaning the Drainage System Filter
⠀
Step 1: Gather Necessary Tools
Before you start, gather the tools you’ll need for this task. While cleaning the drainage filter is a simple process, having a few items handy will make the process smoother:
– A flat-head screwdriver or wrench (depending on the type of filter cover)
– Towels or rags (to absorb water that may spill)
– A small container or shallow dish (to collect any water that remains in the system)
– A soft brush or toothbrush (for scrubbing debris off the filter)
⠀
Step 2: Turn Off the Washing Machine
For safety reasons, you must turn off the washing machine and unplug it from the power source. This eliminates the risk of electrical shock and accidental starting of the machine while you’re working on it.
⠀
Step 3: Locate the Drainage Filter
The drainage filter is typically located near the bottom front of the washing machine. Most machines have a small access panel or cover that you’ll need to remove. Check your washing machine’s manual for the exact location if you’re unsure. Some models have a cover that can be pried open with your hands, while others may require a flat-head screwdriver.
⠀
Step 4: Drain the Remaining Water
Once the access panel is open, you may notice some residual water in the system. Place your towels and container underneath the filter area to catch any water that may spill out. Some washing machines have a small drain hose near the filter that you can pull out and drain the water into a container. If there isn’t a hose, carefully loosen the filter, allowing the water to drain slowly.
⠀
Step 5: Remove the Drainage Filter
After draining the water, carefully unscrew or pull out the filter. Depending on the model, you might need to twist it counterclockwise to remove it. Be prepared for a bit of mess, as there may still be debris clinging to the filter or inside the drainage compartment.
⠀
Step 6: Clean the Filter
Now that the filter is removed, you can start cleaning it. Use warm, soapy water and a soft brush or an old toothbrush to scrub away any dirt, lint, or debris. Check for small objects like coins, buttons, or paper that may be stuck in the filter. It’s important to clean the filter thoroughly, ensuring that no debris remains that could hinder proper drainage.
⠀
Step 7: Clean the Filter Housing
After cleaning the filter, don’t forget to inspect and clean the area where the filter sits. Use a damp cloth to wipe away any grime, dirt, or debris that may have accumulated inside the filter housing. This will ensure the filter fits back properly and there’s no obstruction in the drainage system.
Step 8: Reinstall the Filter
Once the filter is clean and dry, reinstall it back into the machine by screwing or pushing it back into place. Make sure it’s secured tightly to prevent water leakage. Close the access panel or cover, ensuring everything is back in its proper position.
⠀
Step 9: Test the Washing Machine
After cleaning and reinstalling the filter, plug the washing machine back in and turn it on. Run a short cycle to test the drainage system and ensure everything is working smoothly. If the machine drains properly and there are no leaks, you’ve successfully cleaned the filter.
⠀
Tips for Maintaining Your Drainage System Filter
– Clean the filter regularly: Depending on your usage, it’s advisable to clean the filter every 2-3 months to prevent clogs and maintain efficient drainage.
– Keep the area around the filter clear: After cleaning, make sure no objects are obstructing the filter housing.
– Inspect the drainage hose: While you’re cleaning the filter, take a quick look at the drainage hose to ensure there are no kinks or obstructions.
⠀
Regular maintenance of the drainage system filter helps prevent costly repairs and ensures your washing machine performs at its peak.
⠀
While cleaning the drainage filter is a task most homeowners can do themselves, some issues may require professional assistance. If you notice persistent drainage problems or water leakage even after cleaning the filter, it might be time to call in the experts.
⠀
At Chula Vista Appliance Repair Company, we specialize in keeping your appliances in top condition. From washing machine maintenance to repairs, our team is ready to help. Contact us today to schedule a service, and let us ensure your washing machine continues running smoothly for years to come!
Contact us
(619) 880-5508


